
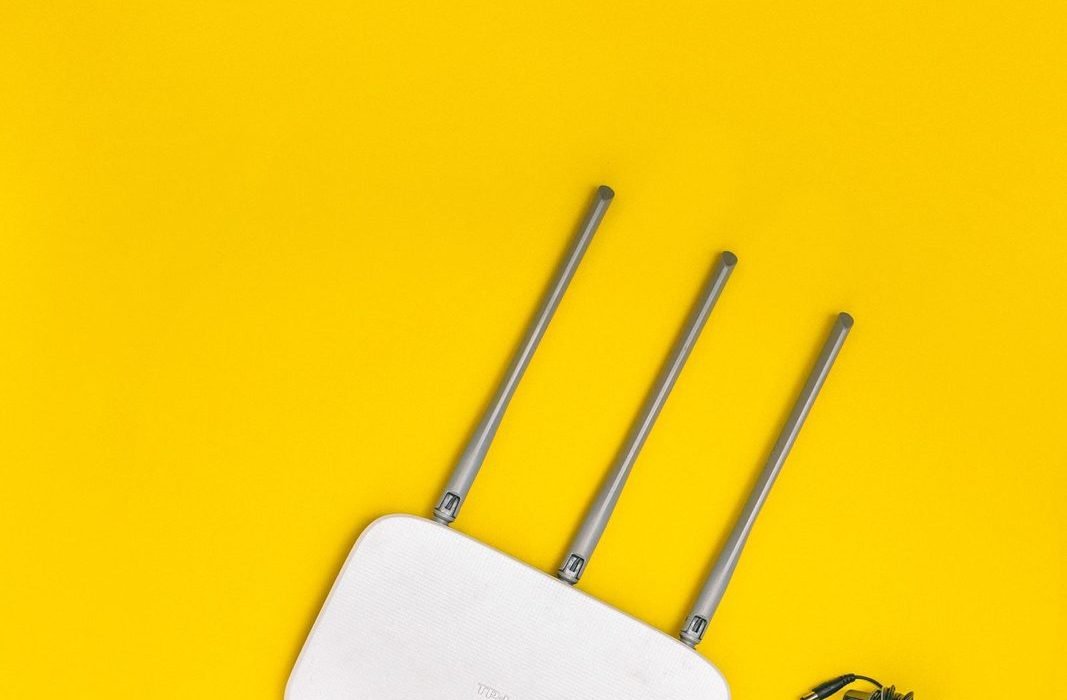
How to Change WiFi Name: Step-by-Step for Any Router
Your WiFi network name — the one that shows up in the list when you connect a phone or laptop — is called the SSID. Most routers come with a default name like “NETGEAR-5G” or a string of random letters and numbers. Changing it to a name you choose makes your network easy to recognize, keeps your router model hidden from strangers, and honestly just makes life simpler when guests ask which network is yours.
This guide shows how to change your WiFi name on almost any router. The whole job takes about five minutes, and you can do it from a phone, tablet, or computer.
What You Need Before You Start
You only need three things:
- A device connected to your network — a phone or computer already on your WiFi, or a computer plugged into the router with an ethernet cable. A wired connection is the safest option because your WiFi will restart during the process.
- Your router’s login address — usually printed on the sticker on the back or bottom of the router. Common addresses are 192.168.0.1 and 192.168.1.1.
- The admin username and password — also on that sticker if you never changed them. Note that this is the password for the router’s settings page, which is different from your WiFi password.
If you changed the admin password long ago and forgot it, you can still use the method in the last section of this guide.
Step 1: Open Your Router’s Settings Page
On your connected device, open any web browser and type the router’s address into the address bar — the same place you type website addresses. Type it exactly, for example 192.168.1.1, and press Enter.
Some brands offer friendlier addresses instead of numbers:
- TP-Link: tplinkwifi.net
- Netgear: routerlogin.net
- Linksys: linksyssmartwifi.com or 192.168.1.1
- ASUS: router.asus.com
A login page should appear. If the page doesn’t load, double-check that your device is connected to that router’s network, and try the other common address (if 192.168.0.1 failed, try 192.168.1.1).
Many internet providers now let you skip this step entirely. If your router came from your provider, open their app instead — Xfinity, Spectrum, AT&T, and most others let you rename your network from the WiFi settings inside the app. The steps below cover the browser method, which works on every router.
Step 2: Log In to the Router
Enter the admin username and password from the router’s sticker. Common defaults are “admin” for both fields, or “admin” with “password” — but check your sticker first, because newer routers print a unique password on it.
If the login works, you’ll see the router’s dashboard. Don’t worry if the layout looks different from a friend’s router; every brand organizes its menus a little differently, but the setting you need is always in the same neighborhood.
Step 3: Find the Wireless Settings
Look for a menu called Wireless, WiFi, Wireless Settings, or Network Settings. On some routers it’s inside an “Advanced” tab.
Inside, you’ll see the name field labeled SSID, Network Name, or WiFi Name. If your router broadcasts two networks — 2.4GHz and 5GHz — you’ll see two name fields, one for each band. Many modern routers use a feature called band steering (sometimes “Smart Connect”), which merges both bands under a single name; in that case there’s only one field to change.
Step 4: Type Your New WiFi Name
Delete the old name and type your new one. A few tips for choosing a good name:
- Don’t use personal information. Avoid your family name, house number, or address. A name like “SmithFamilyWiFi” tells everyone nearby exactly whose network it is.
- Don’t use the router model. Names that reveal your exact router model make it easier for someone to look up its known weaknesses.
- Keep it short and recognizable. You’ll be reading this name out to guests, so something simple beats something clever and long.
- For dual-band routers, you can give both bands the same name (recommended if band steering is on) or add a suffix like “-5G” to the faster band so you can choose manually. Both approaches work fine.
The WiFi password can stay exactly as it is — changing the name does not force you to change the password. If you’d like a fresh password too, this is a convenient moment: the password field (labeled WPA Password, Passphrase, or Network Key) sits right next to the name field. Just remember that a new password means typing it again on every device.
Step 5: Save and Reconnect Your Devices
Click Save or Apply. Your router will restart its wireless radio, which takes one to three minutes. Every device on the network will disconnect — that’s normal.
Once the router is back, your new name will appear in the network list on your phone and computer. If it doesn’t show up right away, toggle WiFi off and back on, or wait a minute and try again.
Forget the old network on any device that keeps trying to connect to it: in the WiFi settings, tap the old name and choose “Forget This Network.” That stops confusing connection attempts.
One more thing worth doing while you’re in the settings: check for a firmware update option (usually under Administration or Advanced) and install it if one is offered. Router updates fix security holes, and most people never apply them.
Changing the Name Through Your Provider’s App
If your router came from your internet provider, the app route is often quicker:
- Open the provider’s app and sign in.
- Open the WiFi or Internet section.
- Tap your network name or “WiFi settings.”
- Edit the name, save, and wait a minute or two for the change to apply.
The network restarts the same way as the browser method, and your devices reconnect under the new name.
If You Can’t Log In at All
If the sticker password doesn’t work and you don’t remember the admin password you set, the last resort is a factory reset, usually a small button on the back or bottom of the router held down for about ten seconds. That erases your current network name and password and all your custom settings, including port forwards and parental controls, so save this for when you really cannot get in another way.
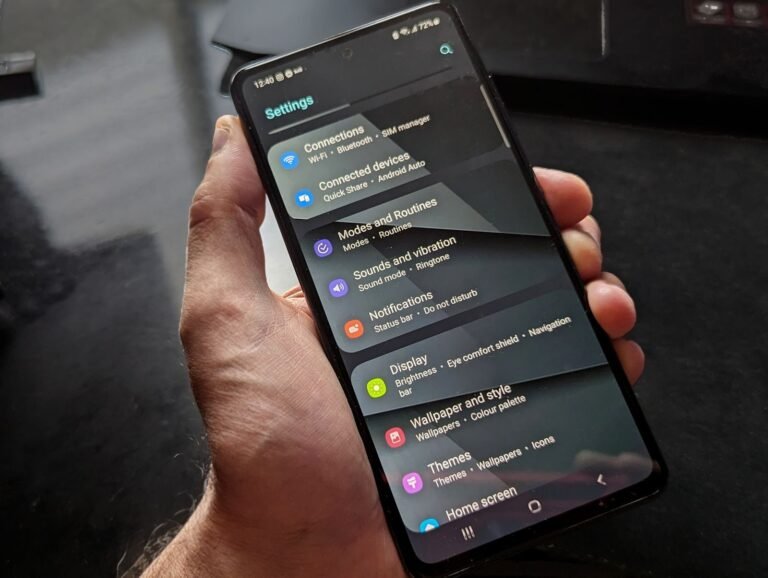
After a reset, reconnecting can sometimes still misbehave on a phone that remembers the old settings. In stubborn cases, you can reset the network settings on that device to clear out everything it saved about your network and start clean.
After the Rename: Sharing the Network
Once the new name is live, the first question from family and guests is usually “so how do I join?” Instead of spelling out the password every time, you can share your WiFi password straight from your phone in a few seconds — most modern phones have this built in.
Frequently Asked Questions
Does changing my WiFi name change my password?
No. The network name (SSID) and the password are two separate settings. You can change either one without touching the other. If you change only the name, your devices keep the saved password and just need to join the new name once.
Will changing the WiFi name disconnect my devices?
Yes, briefly. When you save the new name, the router restarts its wireless signal, so every device disconnects for one to three minutes. Devices then reconnect under the new name. Plan the change for a moment when nobody is in the middle of a video call or a download.
How often should I change my WiFi name?
There’s no schedule. Change it when you set up a new router, when you want to stop broadcasting a default name that reveals your router model, or whenever you simply feel like it. The more important habit is using a strong password and keeping the router’s firmware updated.
Can I hide my network name completely?
Most routers offer a “Hide SSID” option, but it isn’t recommended. Hidden networks don’t appear in the list, yet they can still be detected with basic tools, and your devices have to shout out the network name everywhere you go — which is worse for privacy. A strong password protects you far better than hiding.
What is the difference between the network name and the router login?
The network name (SSID) is what devices use to find and join your network, with your WiFi password. The router login (admin username and password) opens the settings page where you control the router itself. They are separate credentials, and both should be changed from their defaults.
Bottom Line
Changing your WiFi name takes about five minutes: open the router’s settings page or your provider’s app, find the wireless settings, type a new SSID, and save. Your devices disconnect briefly and reconnect under the new name, and your password stays the same unless you choose to change it too. Pick a name that’s easy to recognize but reveals nothing personal — and while you’re in the settings, update the router’s firmware and admin password as well. Those three small steps make your home network noticeably safer.




4 Comments